
This slow cooker 5-ingredient Amish garlic butter chicken noodles recipe is the kind of comforting, no-fuss supper that’s seen many a busy farm wife through long days. It reminds me of dishes that showed up on church potluck tables all over the rural Midwest—simple ingredients, gentle flavors, and that cozy mix of chicken, butter, and noodles that feels like home. On nights when I stand in my kitchen and don’t quite know what to make, I dice up some chicken, pour melted butter over the top along with a few pantry staples, and let the slow cooker do the work. By suppertime, you’ve got tender, garlicky chicken and rich broth ready to catch a handful of egg noodles, and the whole house smells like the way my mother’s kitchen did on chilly evenings.
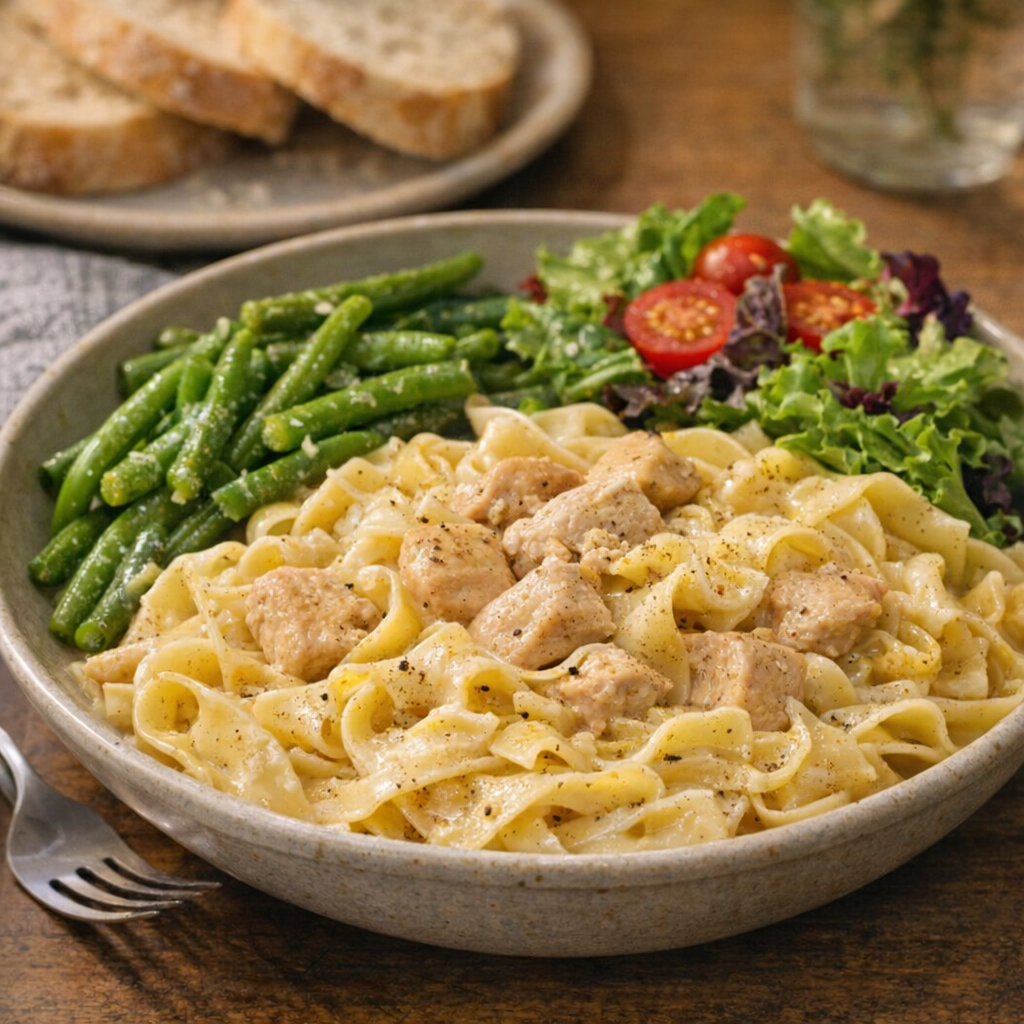
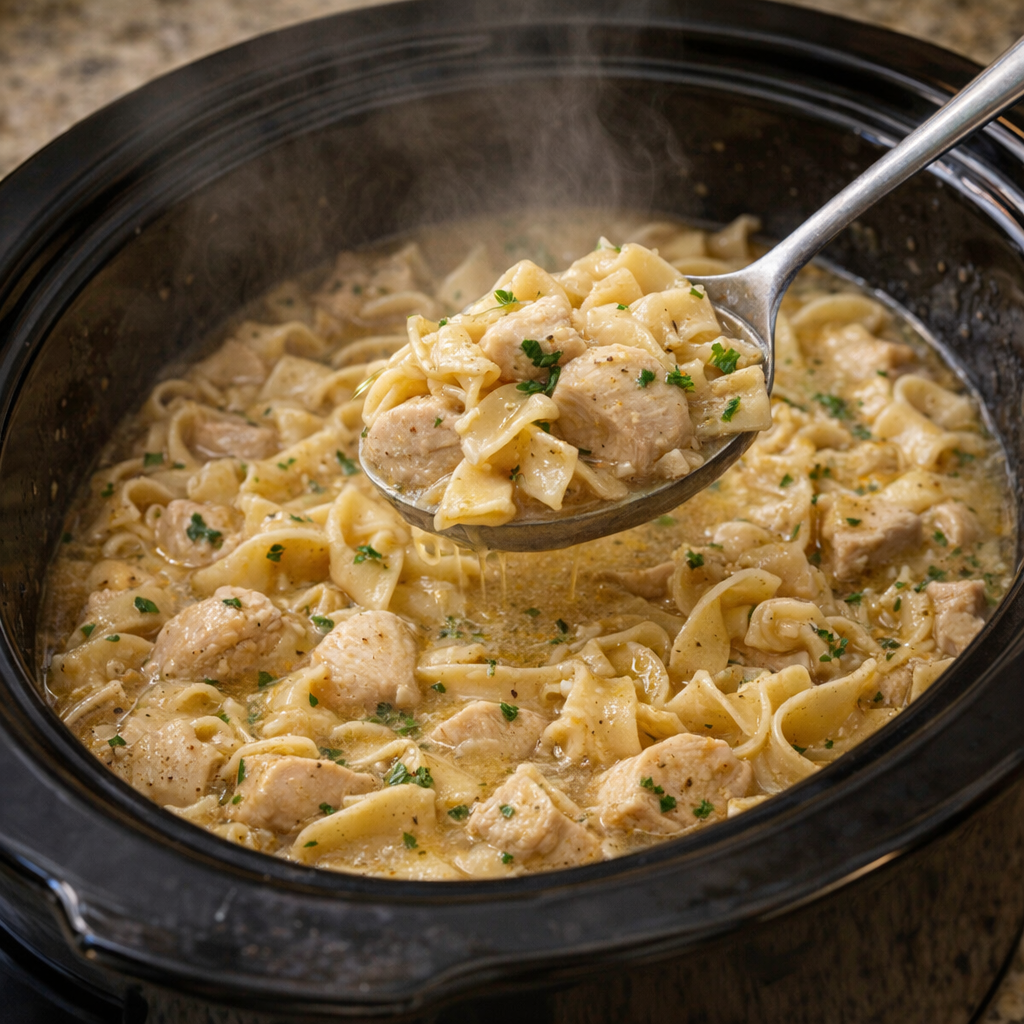
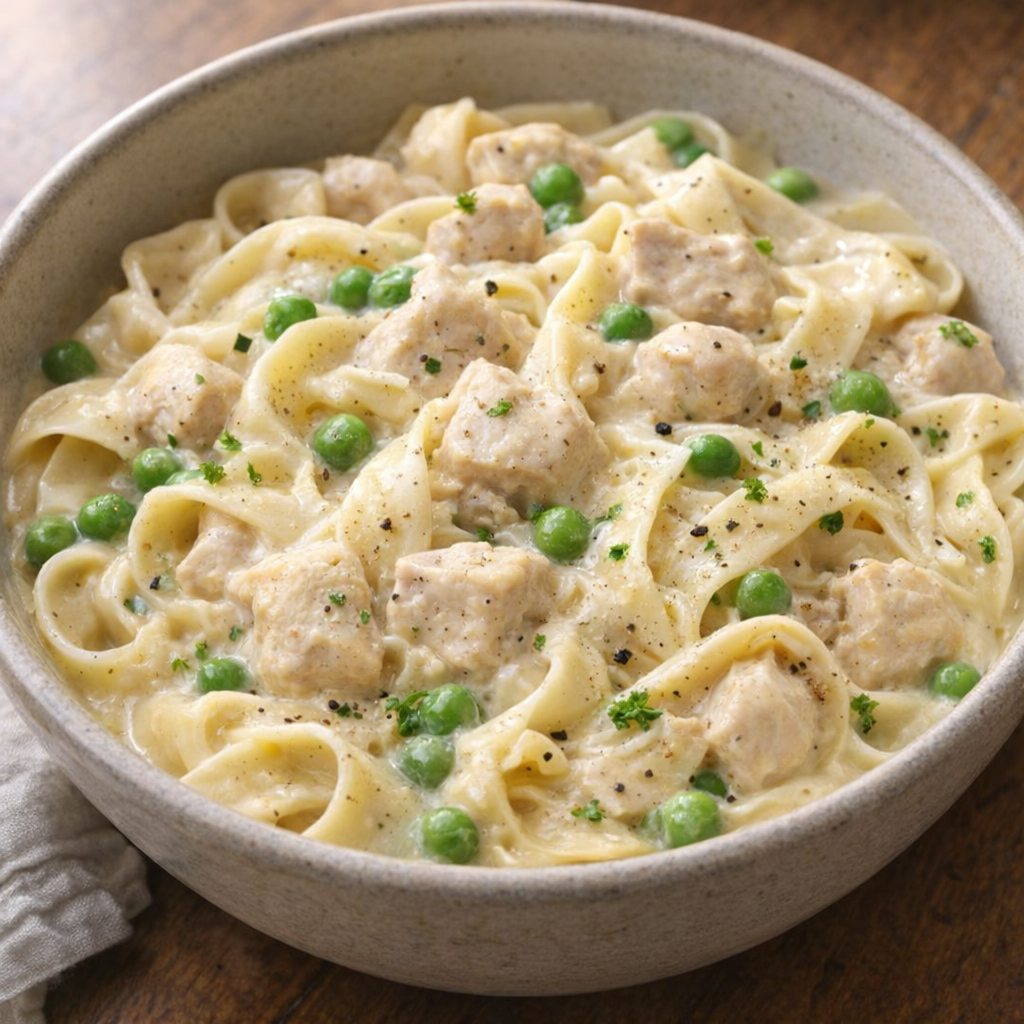
I like to ladle these buttery garlic chicken noodles into wide, shallow bowls and sprinkle a little black pepper over the top. A simple side of buttered peas or green beans fits the old-fashioned Amish feel, and a crisp lettuce salad with a tangy dressing helps cut through the richness. If you’ve got time, warm dinner rolls or thick slices of country bread are perfect for soaking up the extra broth. For a fuller meal, serve with sliced fresh tomatoes in summer or a crock of applesauce in the colder months.
Slow Cooker Amish Garlic Butter Chicken Noodles
Servings: 6
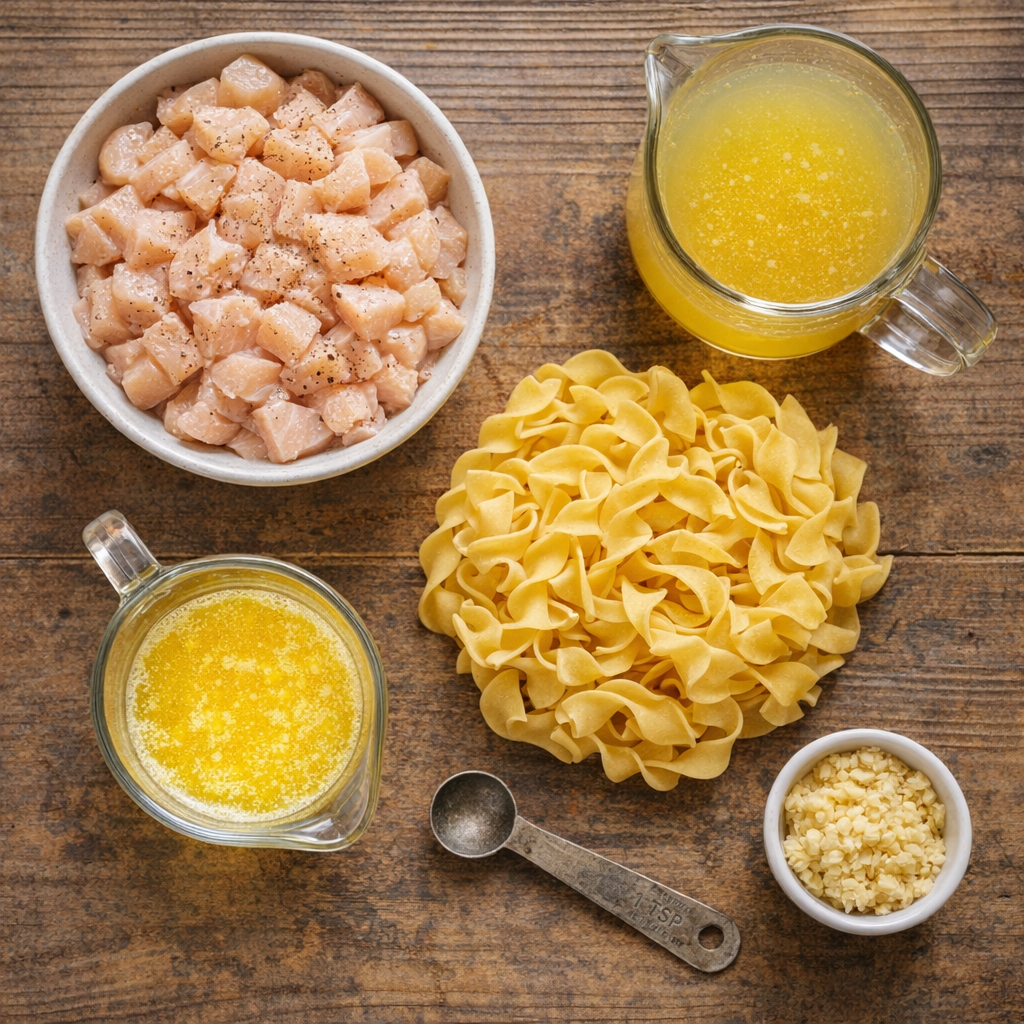
Ingredients
2 pounds boneless, skinless chicken breasts, diced into 1-inch pieces
Directions
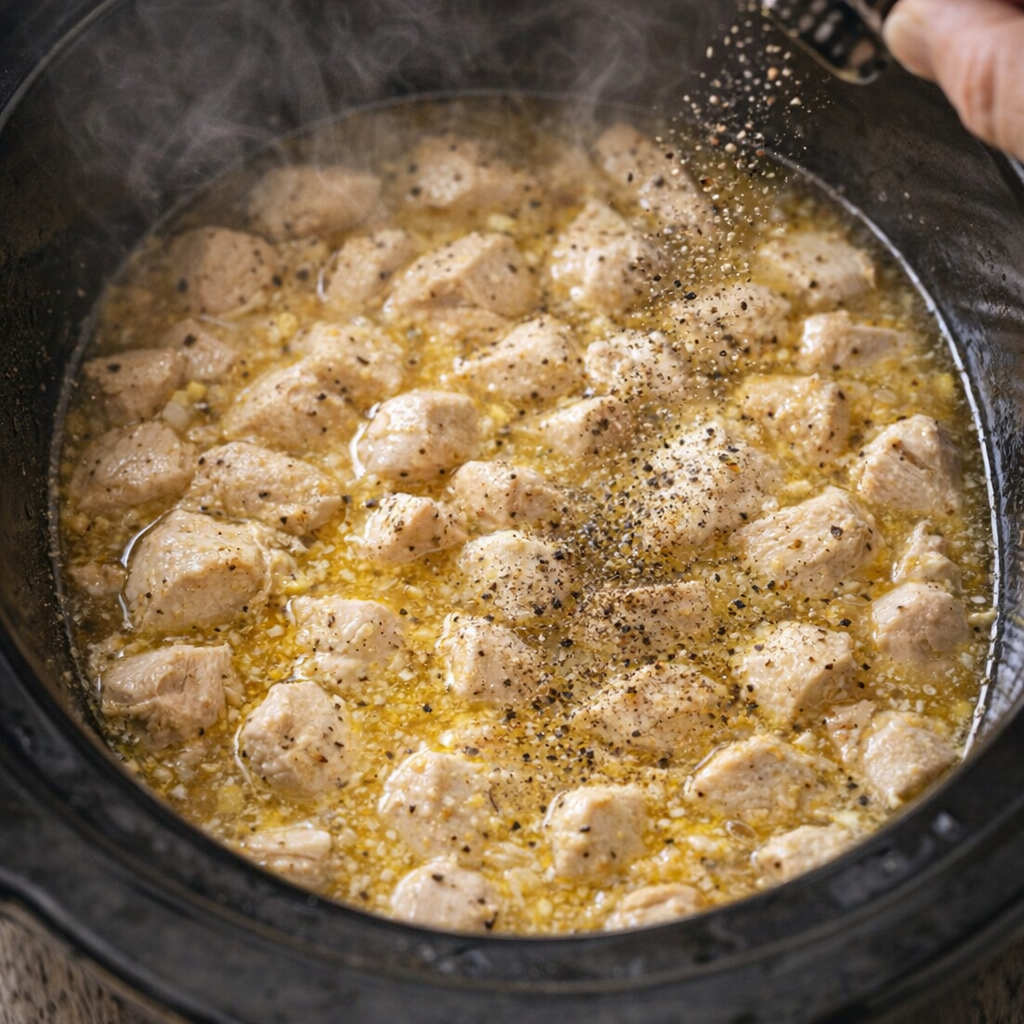
Place the slow cooker crock on a stable surface, such as a clean beige countertop. Add the diced raw chicken in an even layer across the bottom of the slow cooker.

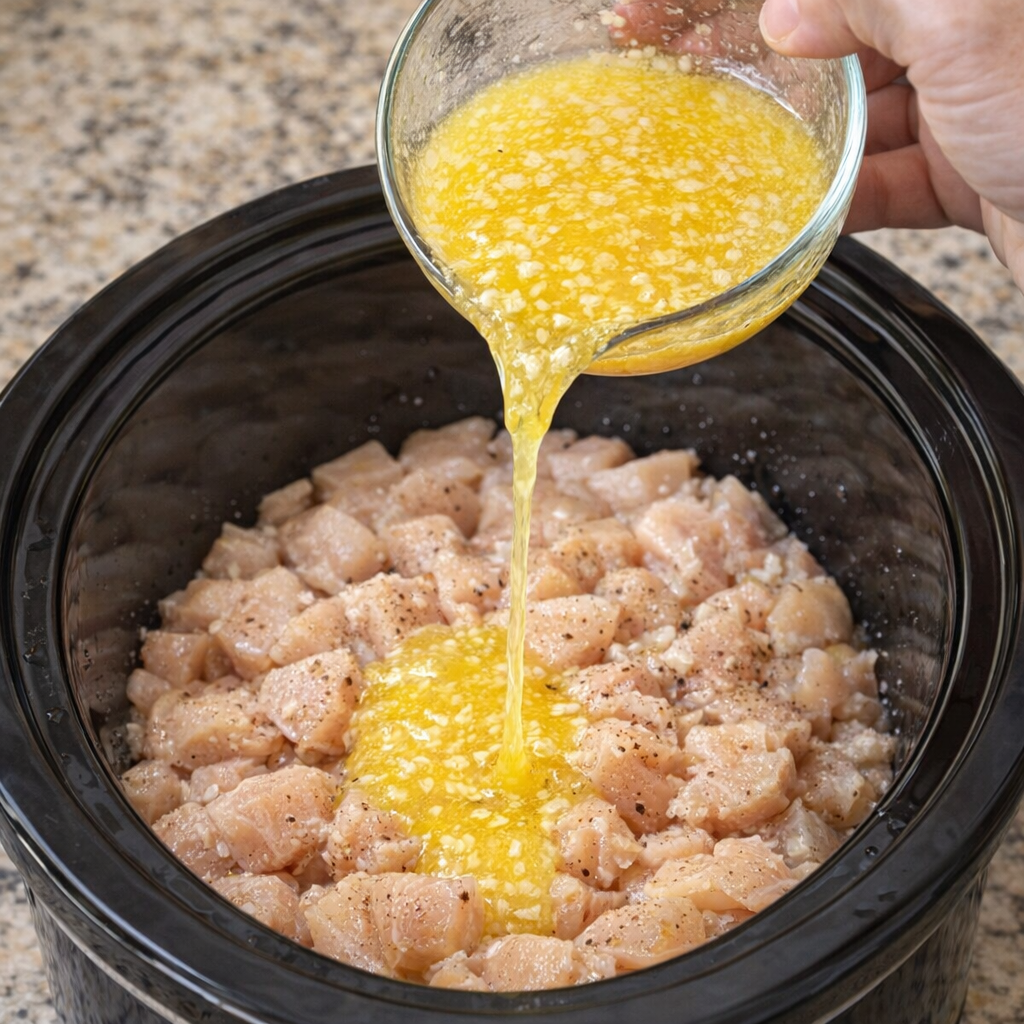
In a small saucepan or microwave-safe bowl, melt the butter until completely liquid but not browned. Stir in the minced garlic so it’s evenly distributed in the butter.

Slowly pour the melted garlic butter evenly over the raw diced chicken in the slow cooker, making sure all the chicken gets a good drizzle. This first step seasons the chicken and gives it that rich Amish-style butter flavor.
Pour the chicken broth over the buttered chicken. Gently stir just enough to tuck all the chicken down into the liquid while keeping most of the butter and garlic mingled throughout.

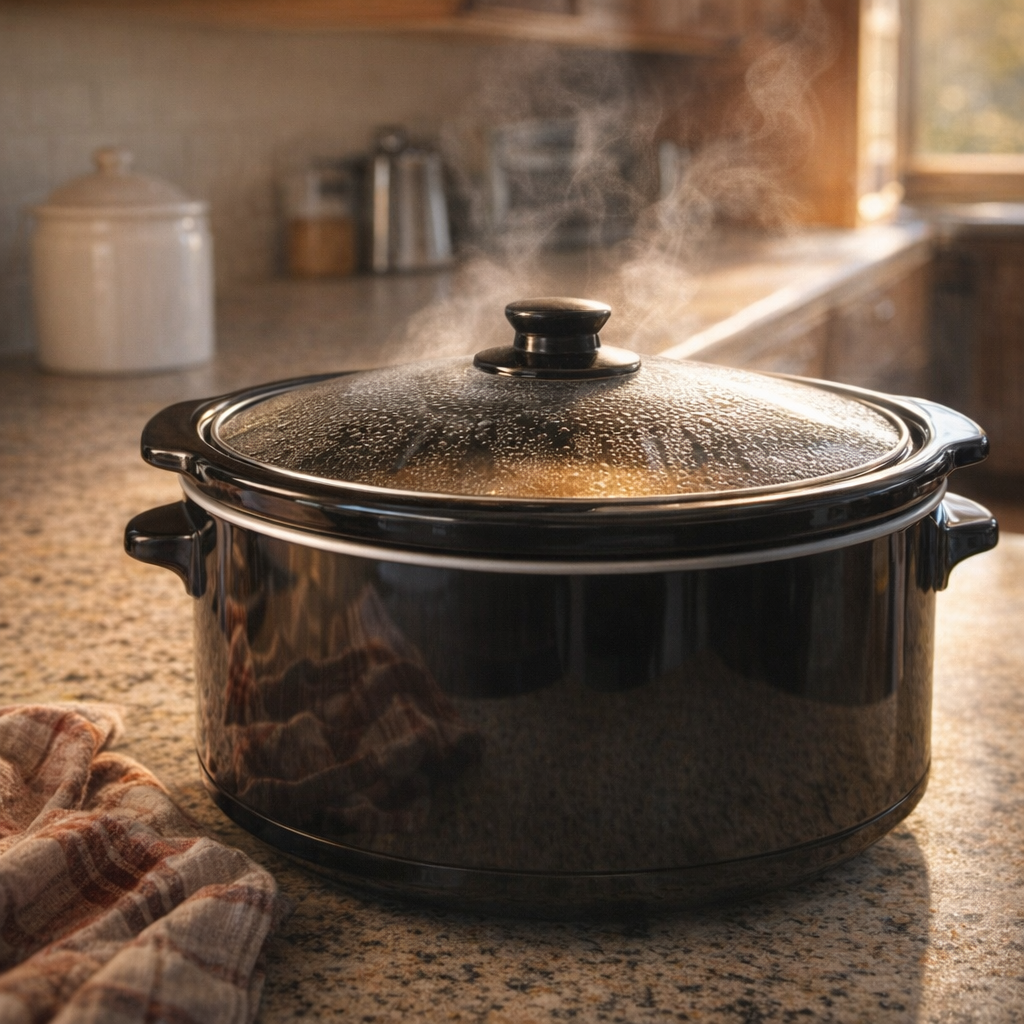
Cover the slow cooker with the lid. Cook on LOW for 4–5 hours, or on HIGH for about 2–2 1/2 hours, until the chicken is very tender and cooked through. Give it a gentle stir once or twice during cooking if you’re nearby.
When the chicken is done, remove the lid and taste the broth, adding a pinch of salt and black pepper if you like, keeping in mind the simple, mild Amish-style seasoning.
Stir in the uncooked egg noodles, pressing them down into the hot broth and chicken so they’re mostly submerged. If the noodles aren’t quite covered, you can add a splash more broth or water.
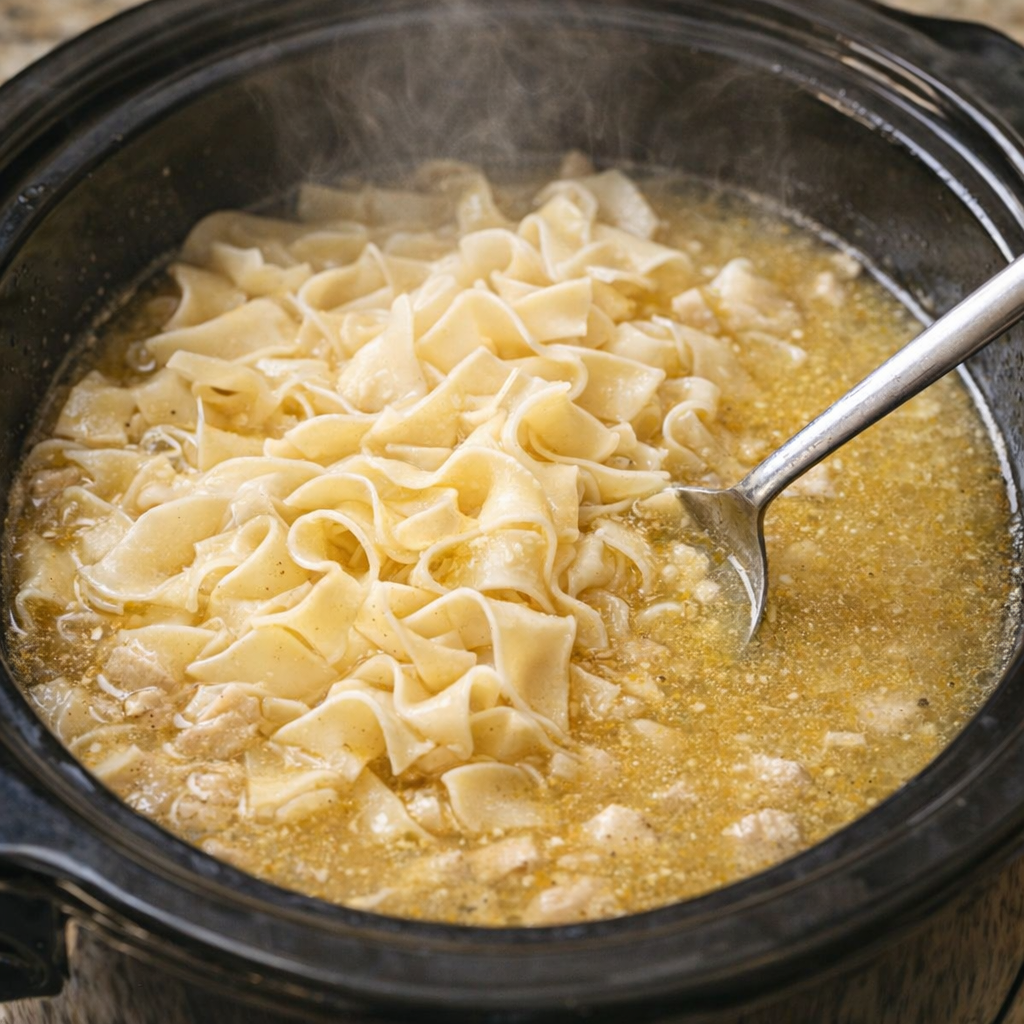
Cover the slow cooker again and cook on HIGH for 20–30 minutes, stirring once halfway through, until the egg noodles are tender but not mushy and have soaked up some of the buttery garlic broth.
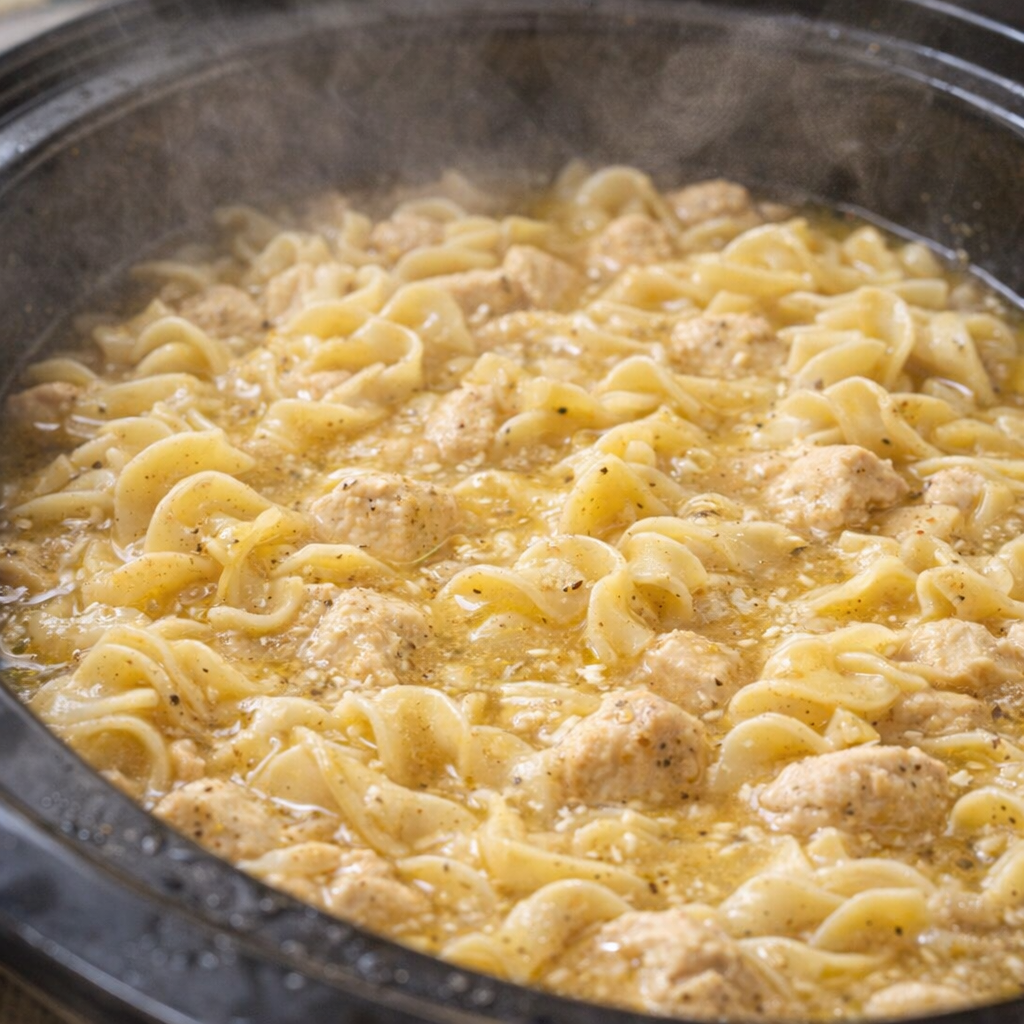
Once the noodles are cooked to your liking, give everything a final gentle stir, breaking up any clumps of noodles and making sure the chicken, butter, and noodles are well combined. Serve hot, straight from the slow cooker, while the noodles are still soft and the broth is silky.
Variations & Tips
For a creamier version, stir in 1/2 to 1 cup of sour cream or a can of cream of chicken soup after the chicken is cooked and before adding the noodles; let it warm through, then add the noodles as directed. If you prefer dark meat, boneless skinless chicken thighs stay especially tender and forgiving in the slow cooker.
To stretch the meal for a larger family, add an extra cup of broth and a few more ounces of noodles, checking the liquid level as they cook. For a little more Amish-style heartiness, toss in a cup of frozen peas or diced carrots during the last 30 minutes of cooking, along with the noodles.
You can also season the broth with a teaspoon of dried parsley or thyme for a gentle herbal note without straying far from its simple roots. Leftovers reheat well with a splash of extra broth or water to loosen the noodles, and the flavors deepen by the next day.


